
Ingenuity leads to revived labeling program
")
To call everything by its right name …
This has long been the goal of the garden, but it has been difficult to put in practice.
Over the past few years, we have added thousands of new plants, but have had not been successful in labeling them. This has been a source of frustration for visitors, as they come across a plant of interest, but are unable to readily identify it.
The garden has had a laser engraver on site for over a decade, to make plant labels and other interpretive signage, but it has been in a state of disrepair for several years. Many attempts of fixing it by updating drivers, adding a new USB port, and tech support with the manufacturer have been tried, but never with lasting success.
")
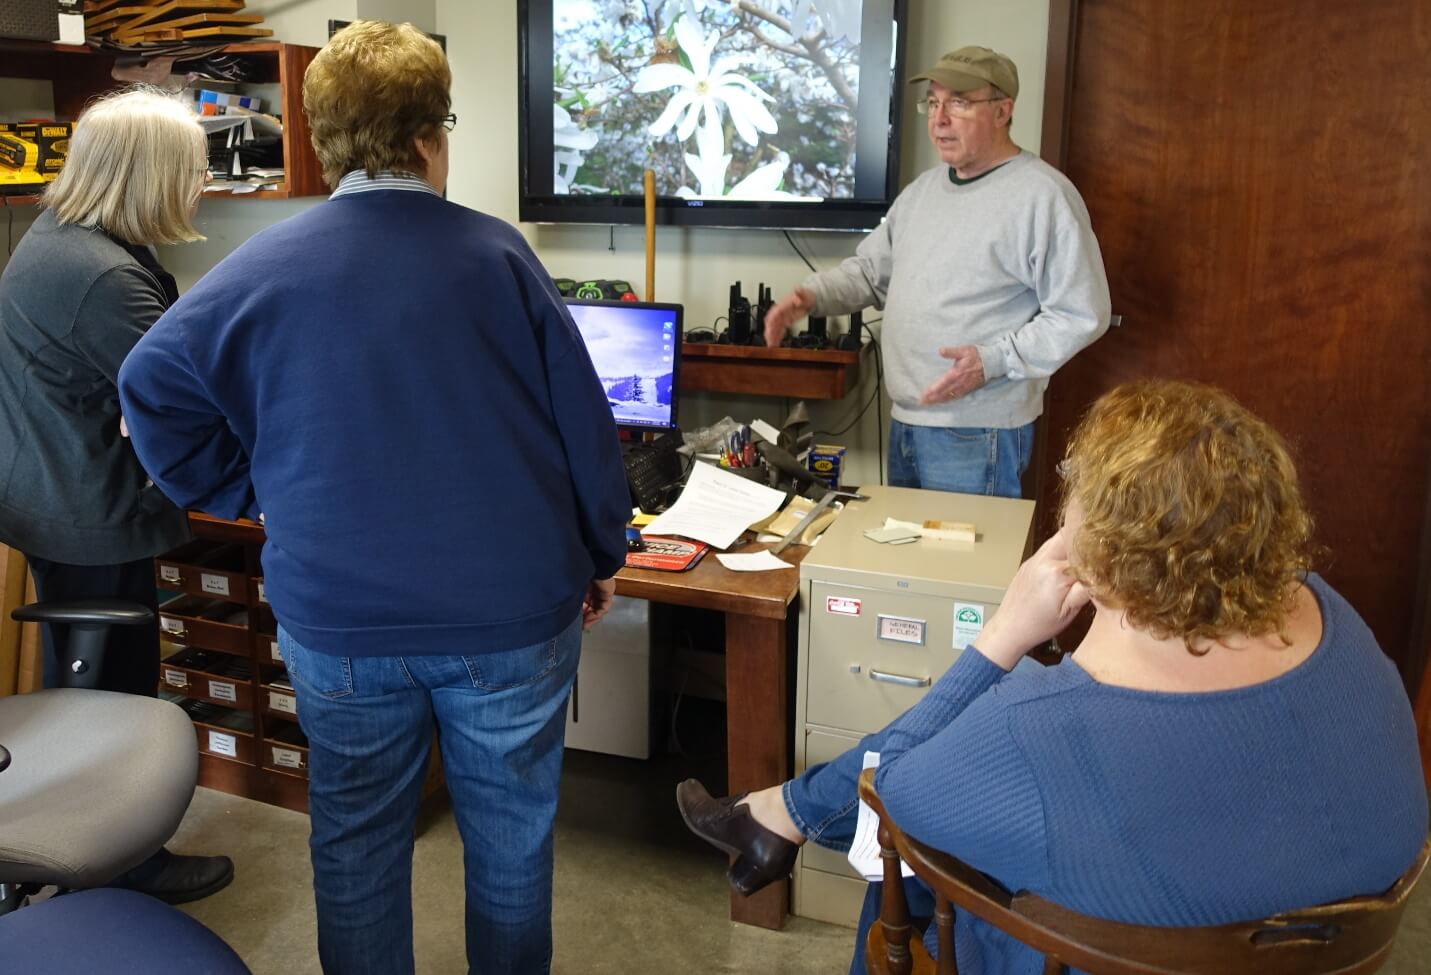
We were ready to throw in the towel, but one of our many dedicated volunteers, Bob, asked if he could troubleshoot it further. It was discovered that the program that we had been using no longer communicated with the engraver, but a simple Word program would. This was the game changer we had been looking for!
Knowing that we now had a fully functioning engraver led us to brainstorm other ways we could improve our entire plant collections management systems, and this begins with the label itself.
A walk through the garden reveals that many of our existing labels were cracked, chipped, or just plain missing from its stake. The plastic labels become brittle over time and are susceptible to breakage from human and wildlife traffic through the garden beds.
")
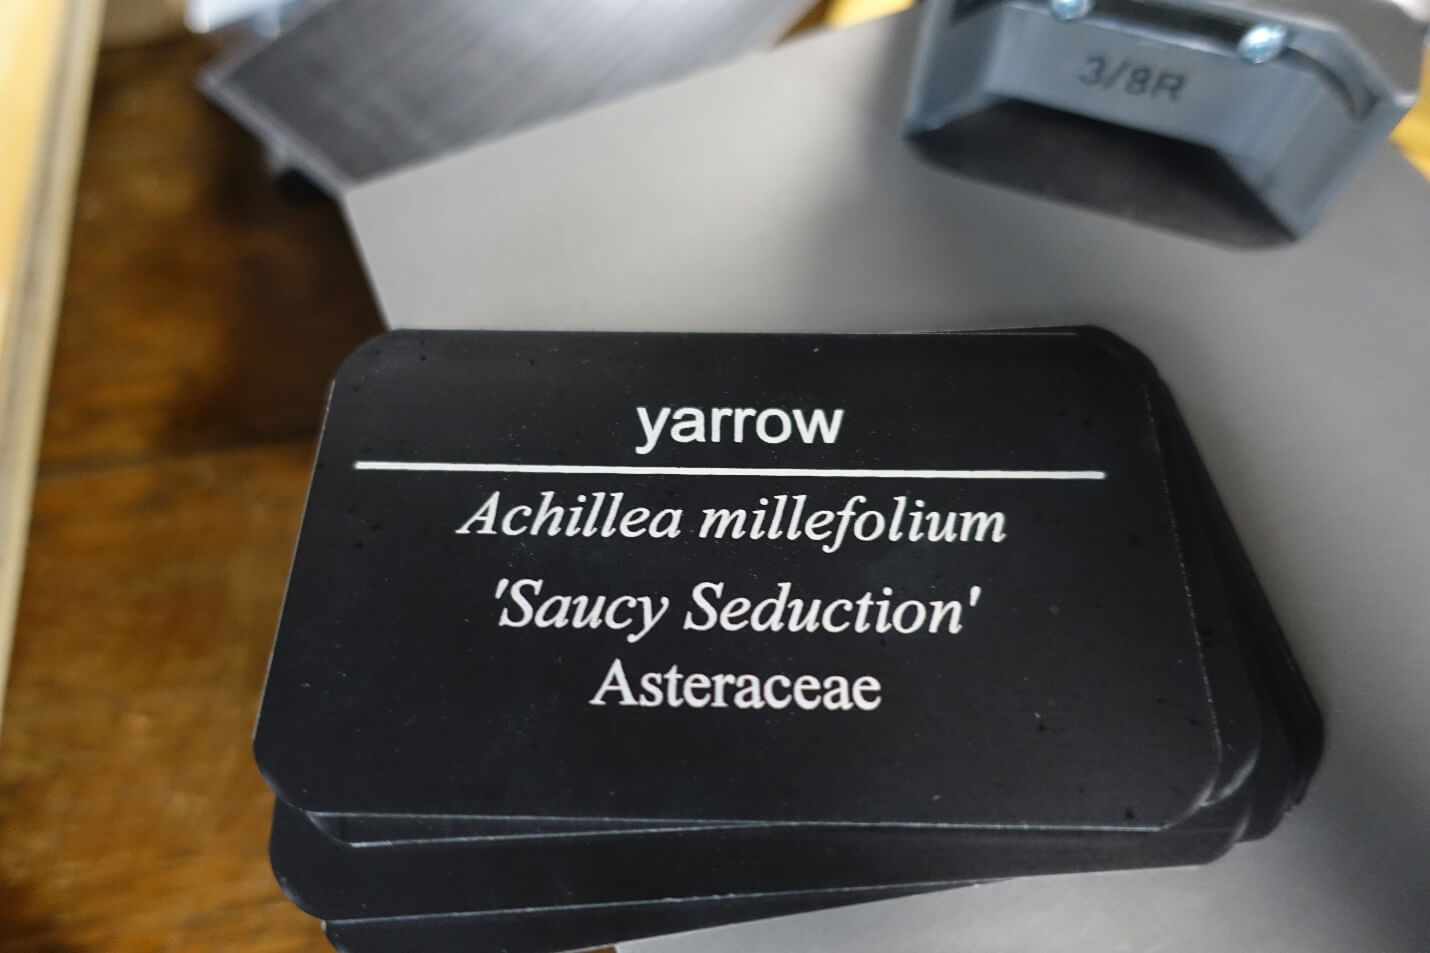
The labels were secured to the stake with an industrial strength adhesive, but the number of empty stakes without a label told us that we needed to find a better way. We decided to move on from a plastic label to an exterior rated anodized aluminum label, as the metal label would hold up to the elements.
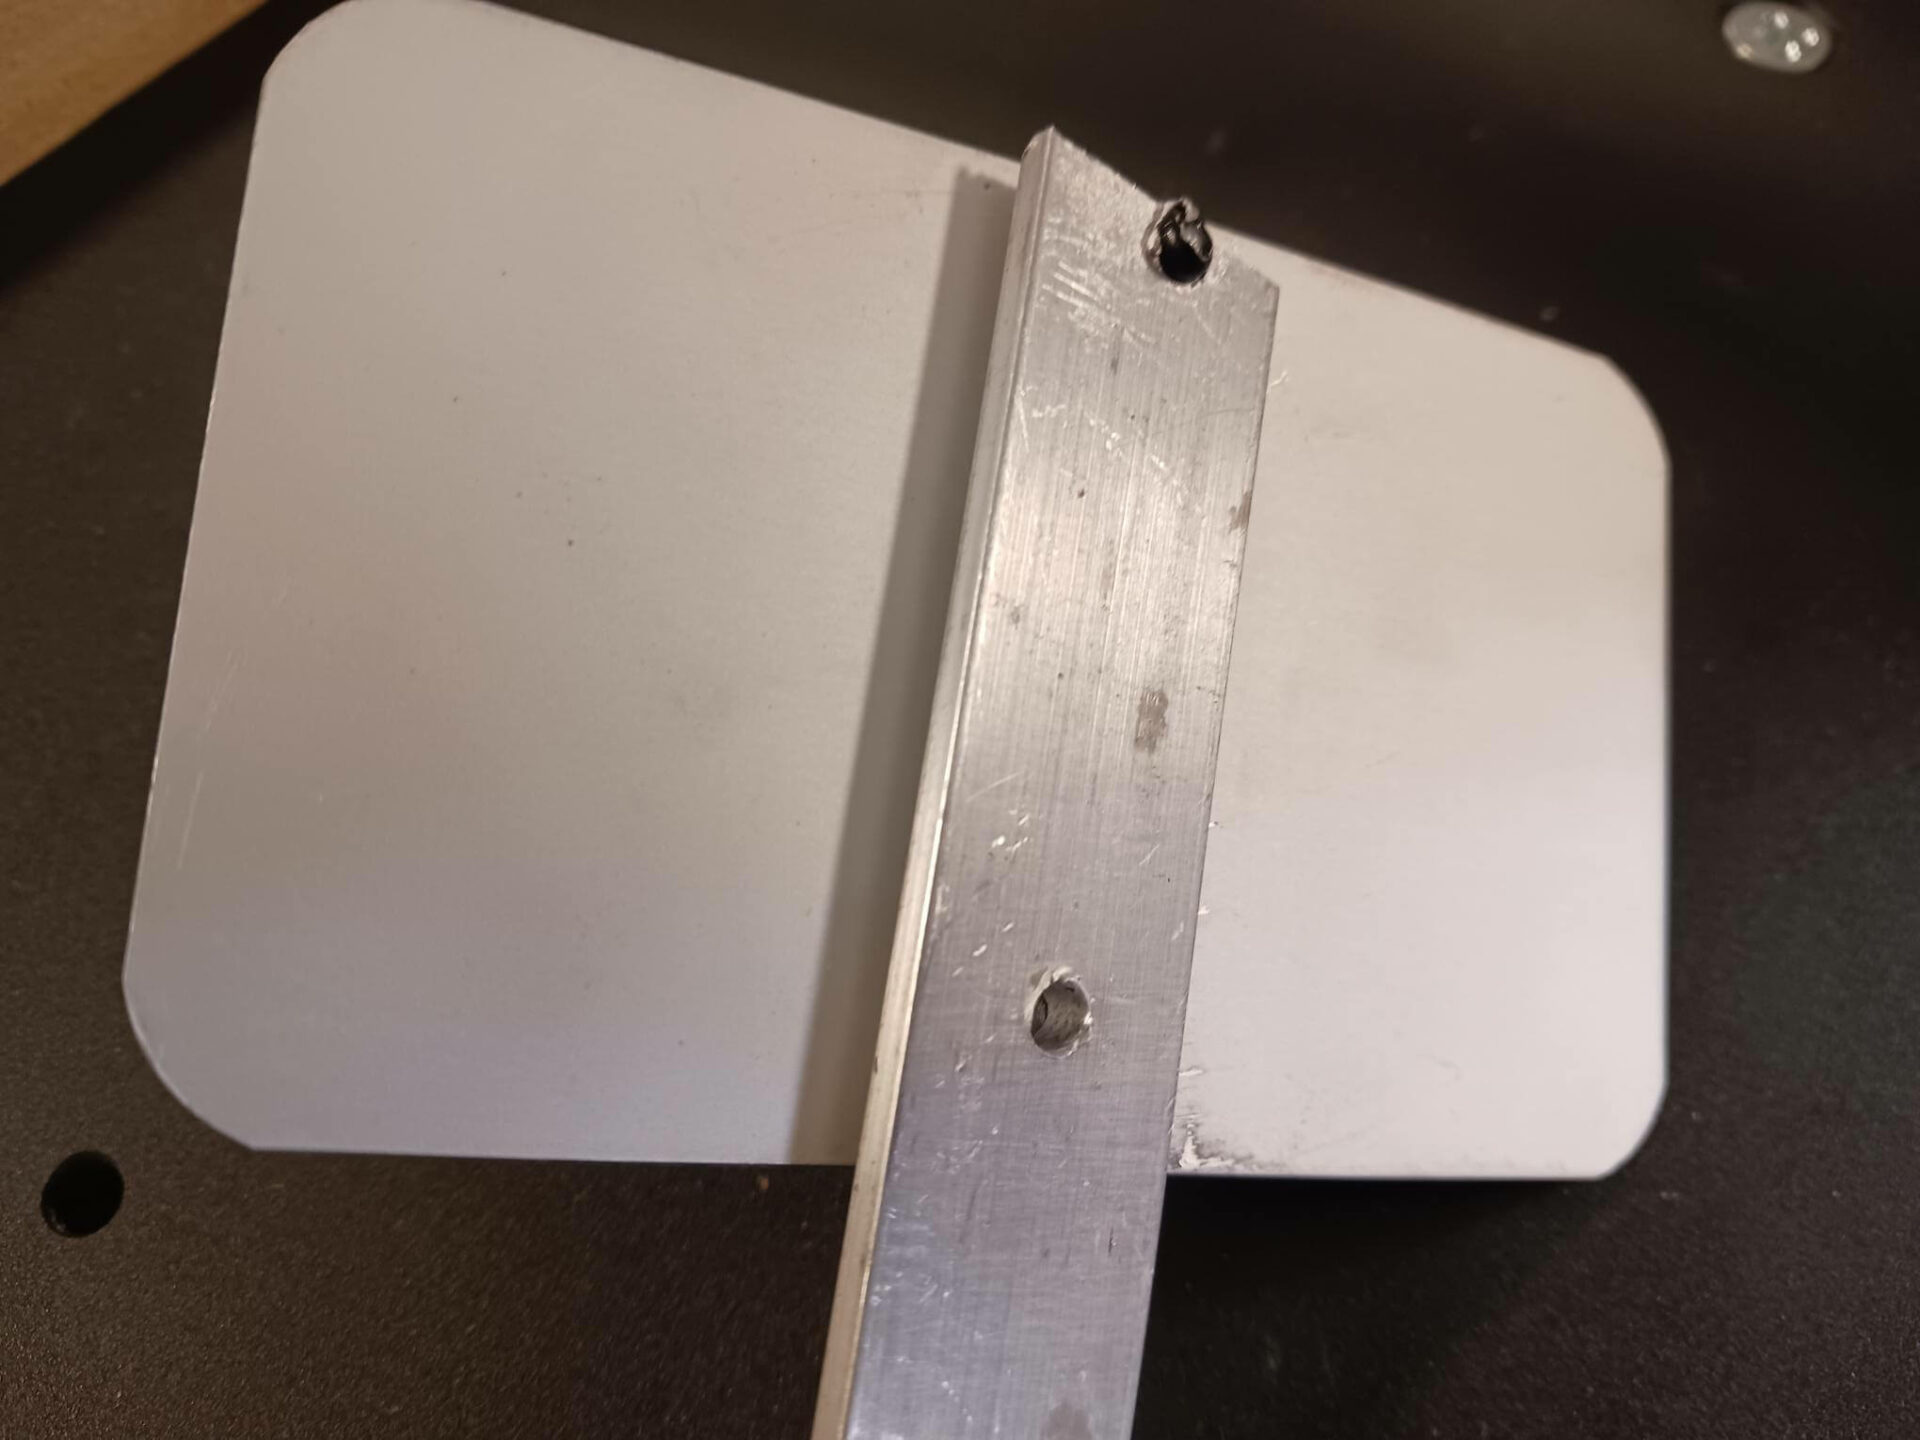
Additionally, the labels will now be mounted on a stake with two small rivets that keep them in place, rather than relying on the adhesive. The rivets are black, so they will blend in with the face of the label as much as possible.
With thousands of labels to make, cost effectiveness was a big consideration. Rather than send out for precut labels at a premium price, we decided to purchase large sheets of anodized aluminum and cut them to size ourselves.
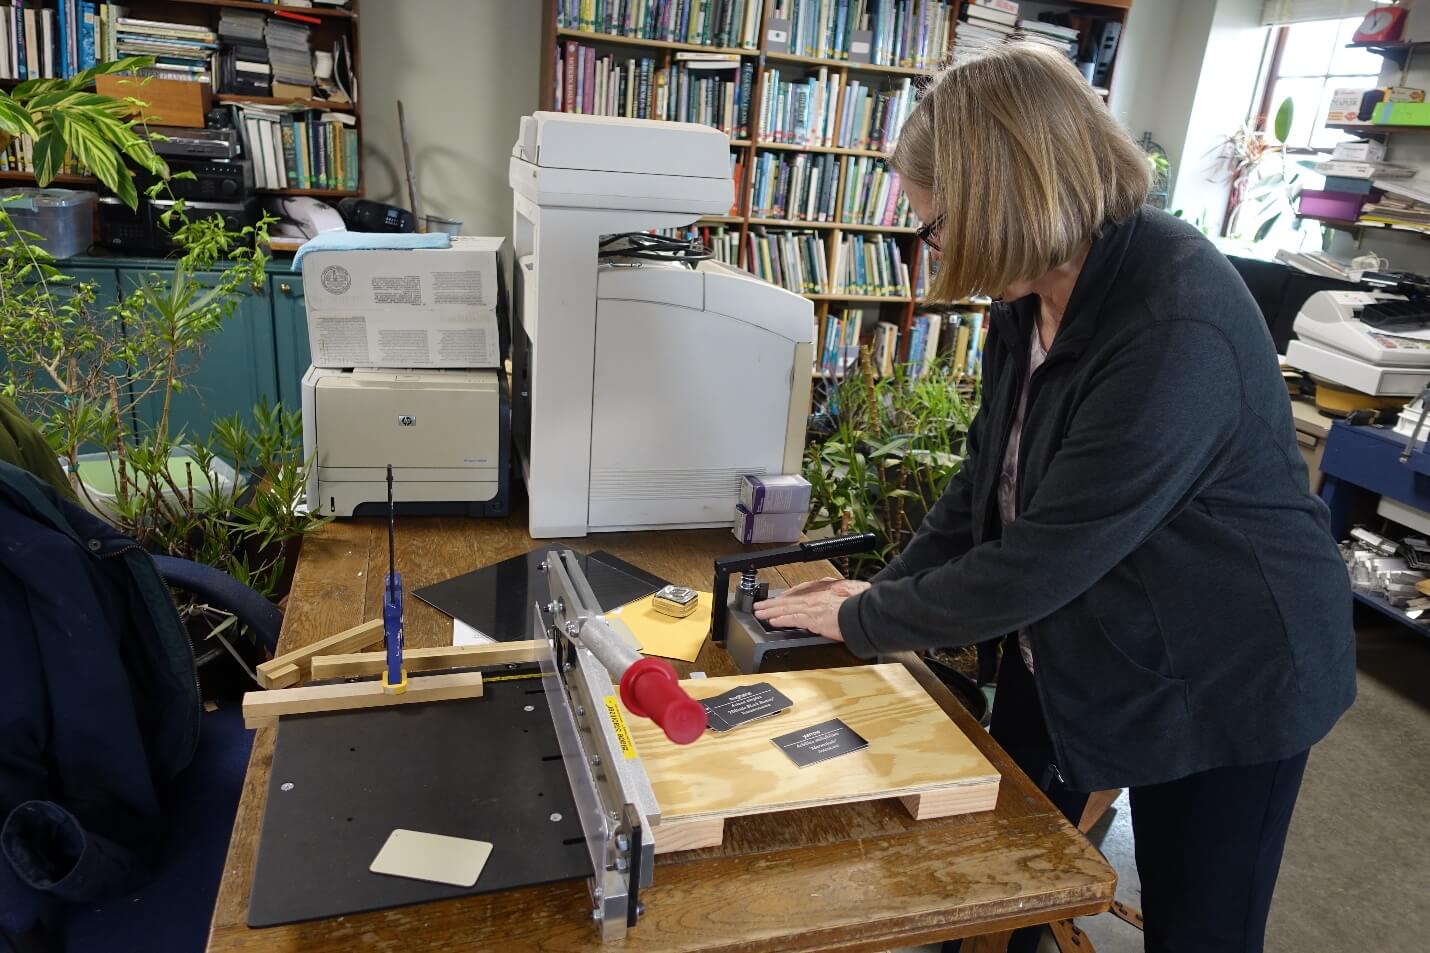
To do this we needed to buy a shear, a piece of equipment that looks like a large paper cutter but is used to cut through metal. We line up the metal sheets up against wooden stops, to ensure a perfect cut when cutting different dimensions of signs.
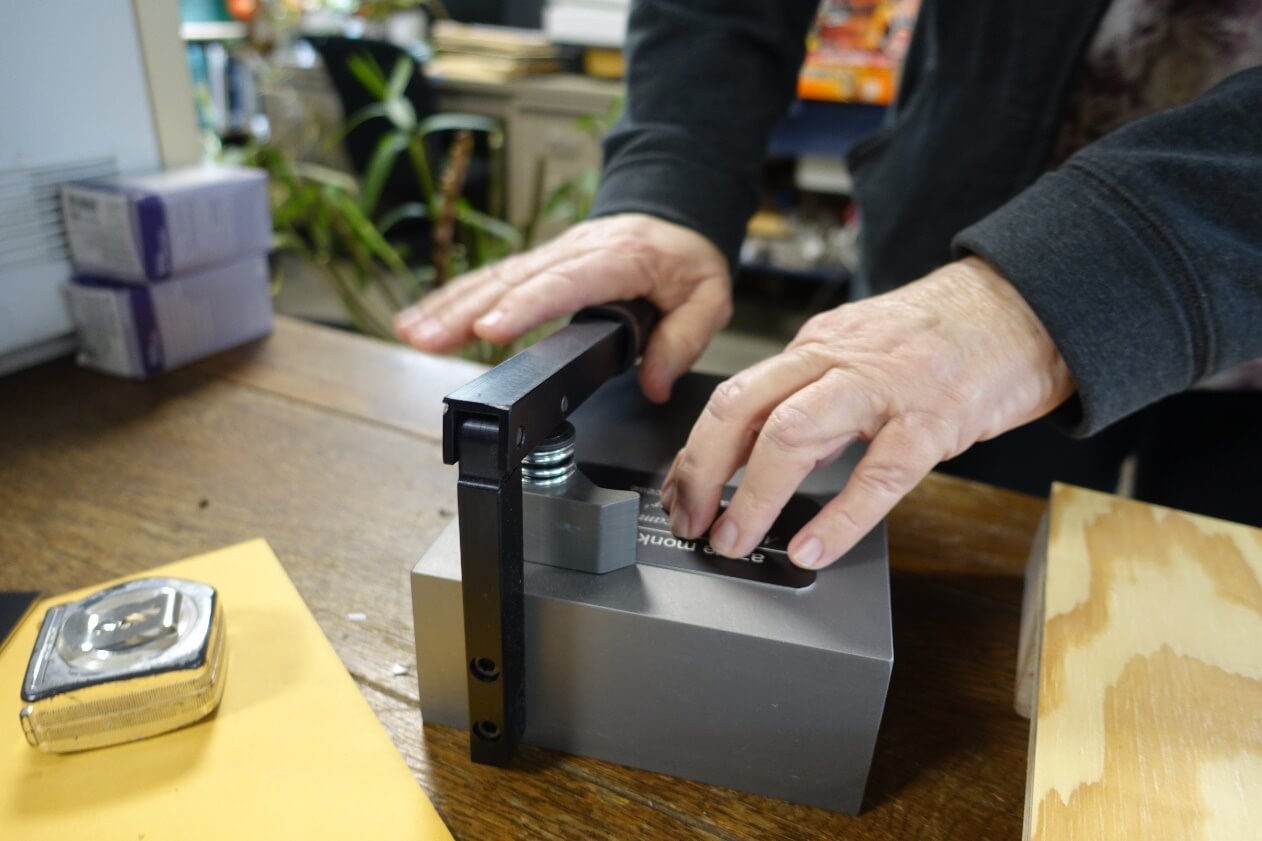
The next step is putting each label in the corner cutter, which will take the sharp edge off of each sign and give it a sleek look. After this, the pop rivets attach to the stake and the label is ready to be placed in the garden!
We are going through old invoices to develop a spreadsheet of all the plants ordered over the past couple of years that will need a label made for them. Once we are caught up on these, we will turn our attention to the existing labels in the garden and converting them over to the new label style.
We are making labels right now and will start to place them out in the garden as they are completed, so be on the lookout for them when you visit us this spring! After this first phase of relabeling our plant collection is completed, we will look to use a GPS program to digitally map the plants, benches, etc. and have this information available online.